Proxmox is an open-source Type 1 Hypervisor that’s capable of running virtual machines. When combined with Docker, the two make for endless possibilities, either in a production environment or a home lab.
It is not uncommon to run Docker and Portainer inside virtual machines; nor is it a difficult process to set it up, but it is the most efficient way of running things?
That’s where LXC Containers come in, a lightweight alternative to VMs. Since Linux Containers are stateful, they are comparable to virtual machines (VMs) in many respects, but as they only ‘borrow’ the kernel of the host, they are more efficient than VMs.
Let’s dive in and build an LXC Container with Docker and Portainer.
Install Base (Turnkey Core) Debian OS
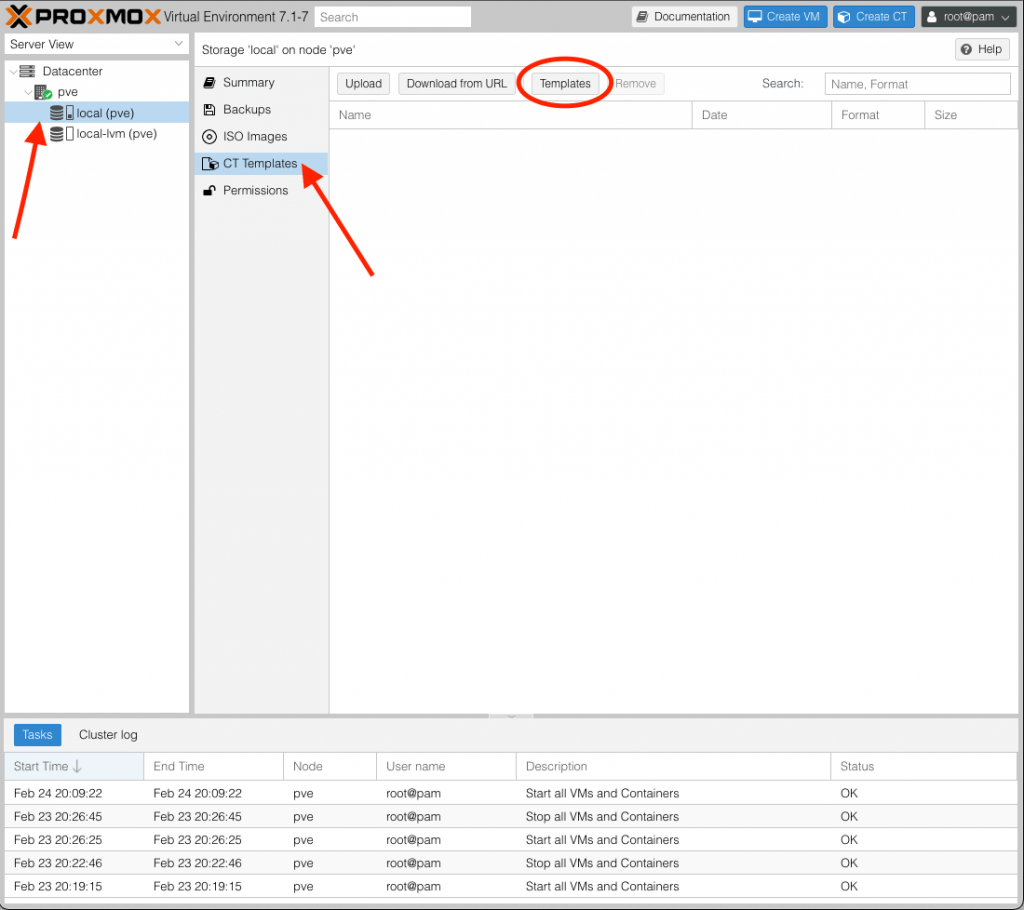
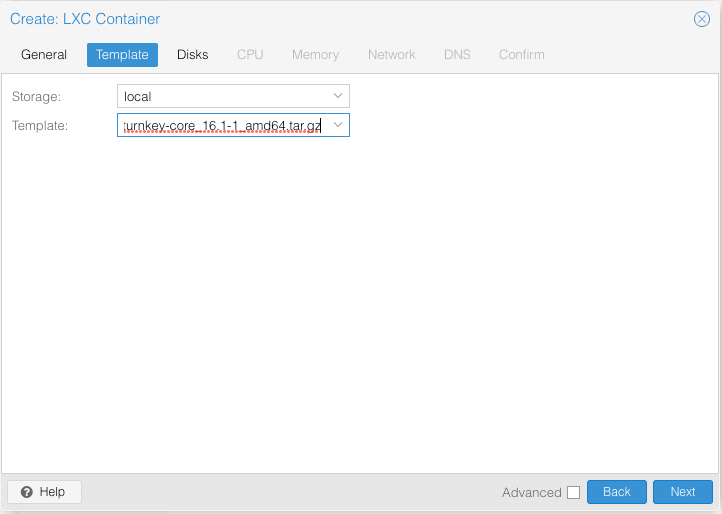
We will need to create a new CT with a Debian based operating system. You can download the Turnkey Core template, which will act as the base OS for installing Docker and Portainor in an LXC container, by following the steps below:
NOTE – To use the Turnkey Core Template, you must have an up-to-date Proxmox installation (please see our How To Update Proxmox guide for more information). The Turnkey Core template won’t appear if you haven’t enabled the Proxmox community repo.
If the update has been done but you still do not see the package, issue the following command:
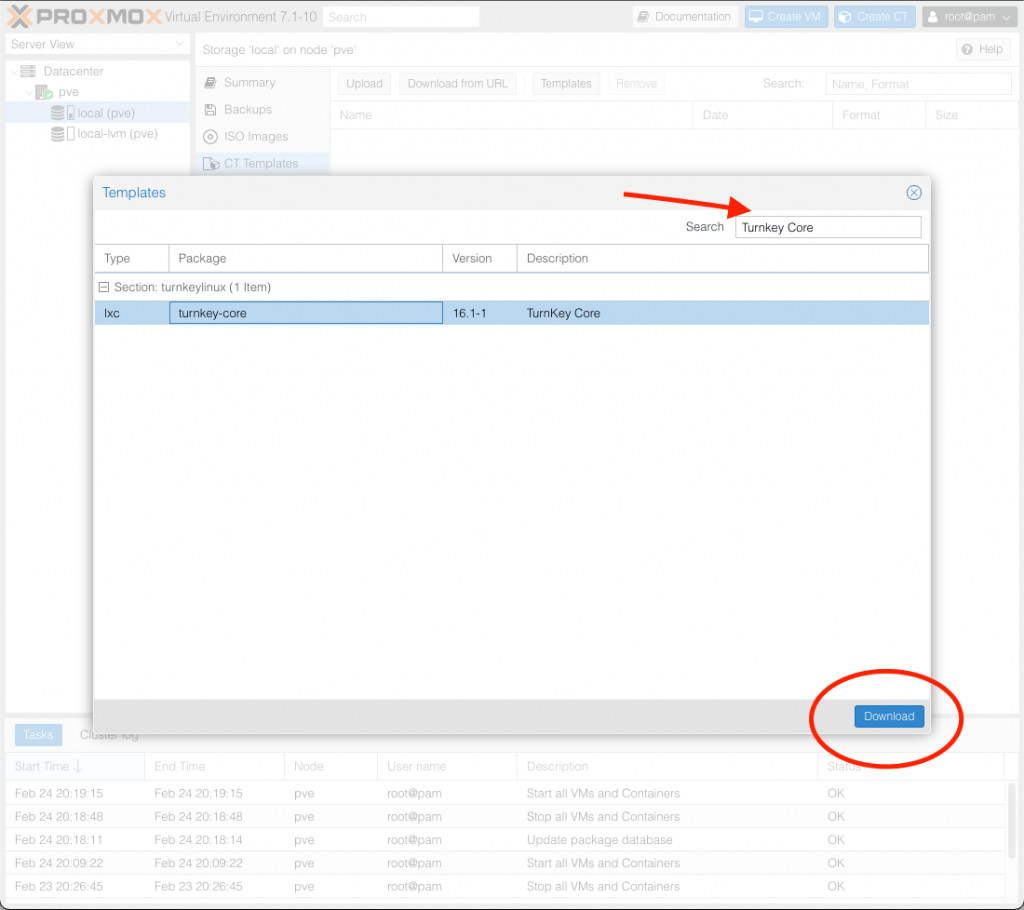
pveam updateDownload the Turnkey Core Template:
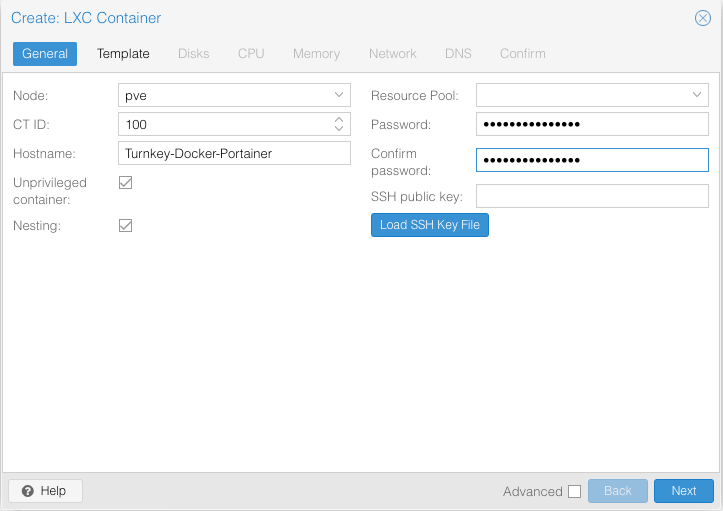
Create the LXC Container
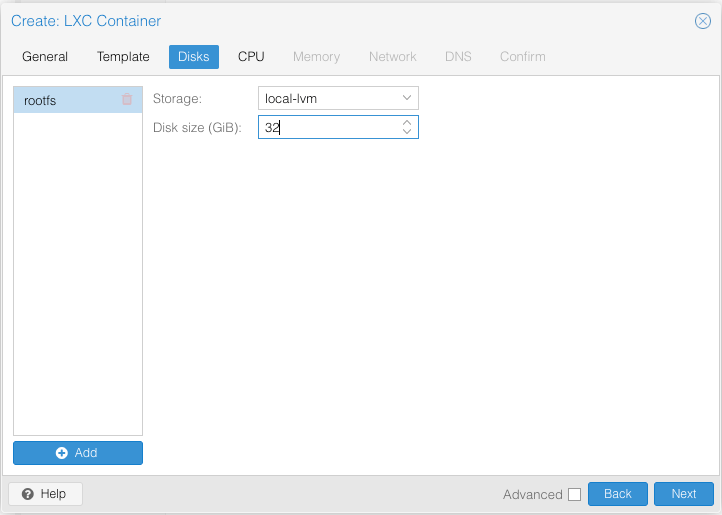
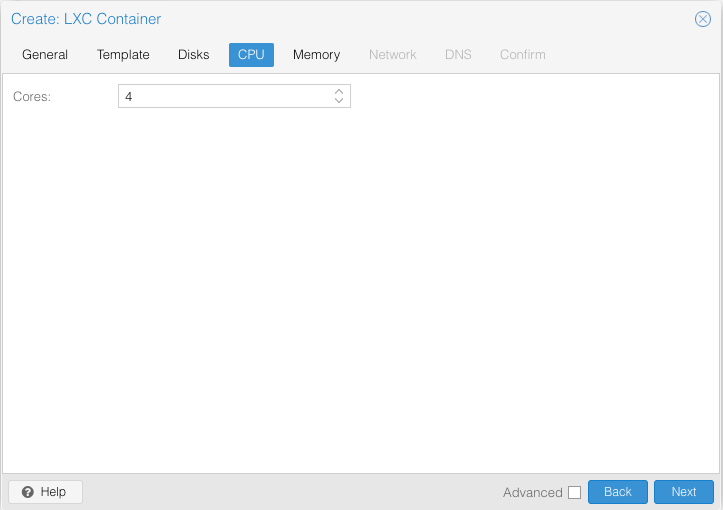
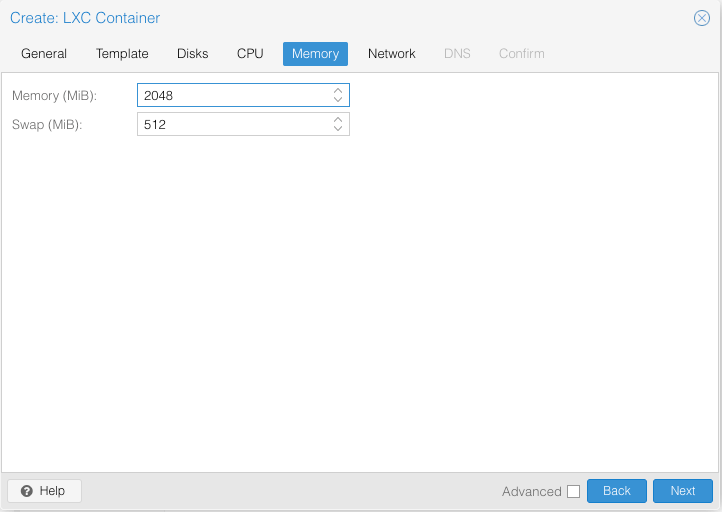
Now the template has been downloaded, we need to create the LXC container that will house Docker and Portainer. Follow the steps below to do this:
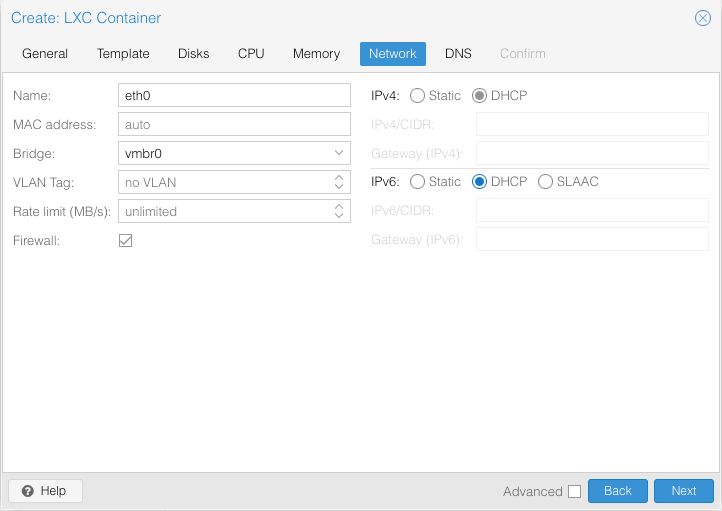
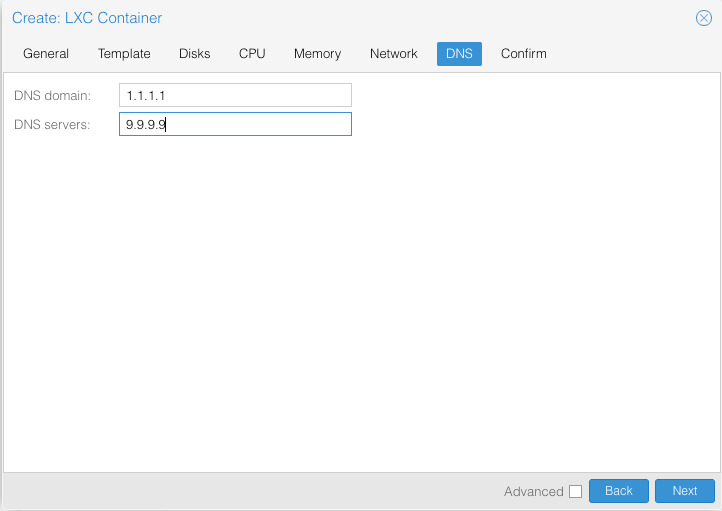
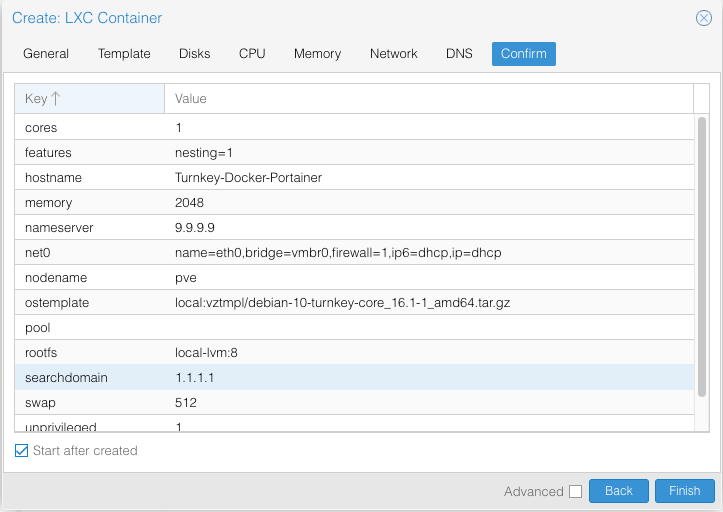
Setup the LXC Container
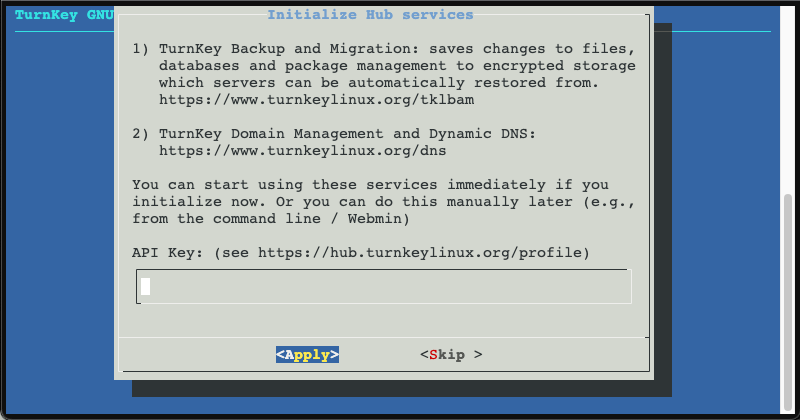
After the LXC Container has started, we can perform the following basic setup to ensure that things run as they should. Login to the console using the ‘root’ user, and the password you set while creating the LXC Container.
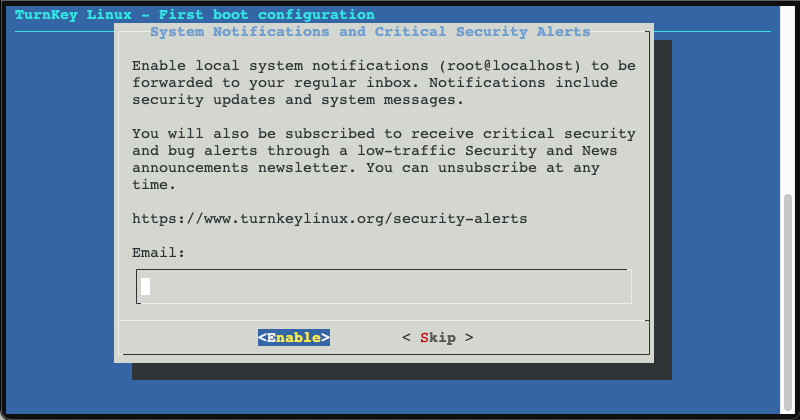
After the updates have been installed, you will need to write down the IP address that was provided to you, as this will be required to use SSH/FTP as well as access Portainer UI.
As a first step, I like to install htop and sudo. It is not necessary to install sudo since we will be using the root account. Some resources on the internet, however, may use sudo to execute commands. Thus, it is easy to install it now as it is compatible with other resources.
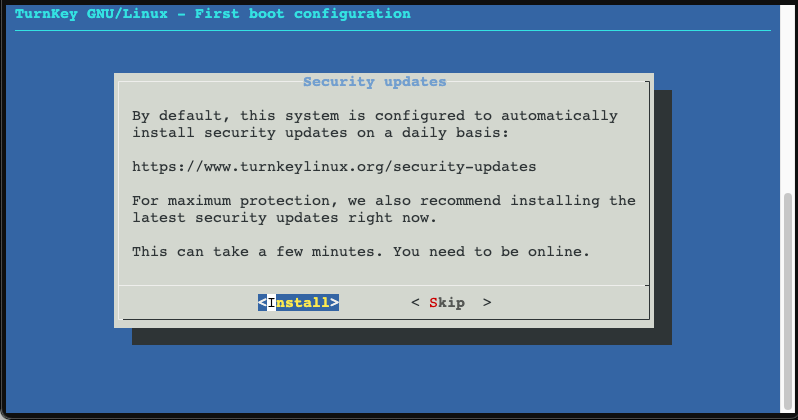
apt install sudo htopAs an extra precaution, let’s ensure all updates are done, along with a distro upgrade (the system will reboot once the updates are installed):
sudo apt update && sudo apt upgrade && sudo apt dist-upgrade -y && sudo rebootInstall Docker in LXC Container
Simply follow these steps to install Docker within the LXC container.
sudo apt-get install \
    ca-certificates \
    curl \
    gnupg \
    lsb-release
You can add Docker’s official GPG key by issuing this command:
curl -fsSL https://download.docker.com/linux/debian/gpg | sudo gpg --dearmor -o /usr/share/keyrings/docker-archive-keyring.gpgAdd the Docker repo to the sources.list.d file:
echo \
  "deb [arch=$(dpkg --print-architecture) signed-by=/usr/share/keyrings/docker-archive-keyring.gpg] https://download.docker.com/linux/debian \
  $(lsb_release -cs) stable" | sudo tee /etc/apt/sources.list.d/docker.list > /dev/null
Update the sources.list.d file:
sudo apt-get updateIssue this command to install Docker Engine within the LXC Container:
sudo apt-get install docker-ce docker-ce-cli containerd.ioInstall Portainer In LXC Container
Issue the following commands to install Portainer In LXC Container:
sudo apt install docker.io
sudo systemctl enable docker
sudo systemctl start docker
sudo systemctl status docker
docker run -d \
--name="portainer" \
--restart on-failure \
-p 9000:9000 \
-p 8000:8000 \
-v /var/run/docker.sock:/var/run/docker.sock \
-v portainer_data:/data \
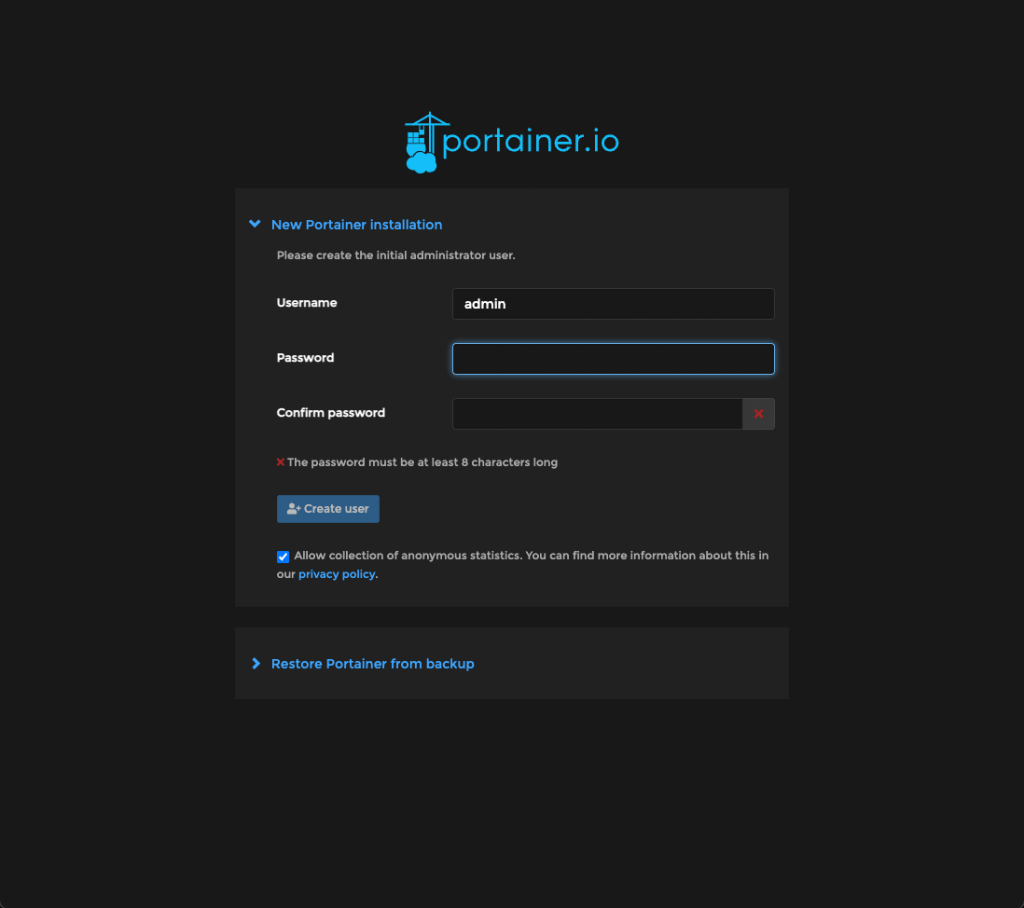
portainer/portainer-ce:latestThe system will now go and pull the latest Portainer image and set the container running on port 9000. You will be able to access Portainer by visiting http://<the_ip_of_server>:9000
Conclusion:
In this guide we have shown you how to build Docker with Portainer in an LXC Container. This is an extremely efficient way to run docker (with Portainer) on Proxmox. It will provide you with a lightweight platform to run Docker containers. We hope you have found this article useful.